So Nate keeps telling me I should start blogging about random stuff that makes my life with six beautiful children and one awesome husband easier and healthier. We rarely eat out and since I spend most of my day in the kitchen preparing all of our meals and snacks, I’ll start there first.
My bread recipe. I bake bread once per week, usually on a morning or afternoon when I find the the time to fit it in and when we’re running low on bread or I look at our week’s schedule and stock the freezer. The entire process usually takes around 2 hours and then cooling time. Note: the flour can be adjusted to your family’s taste. Even all whole wheat flour works fine in this recipe. Here’s my recipe:
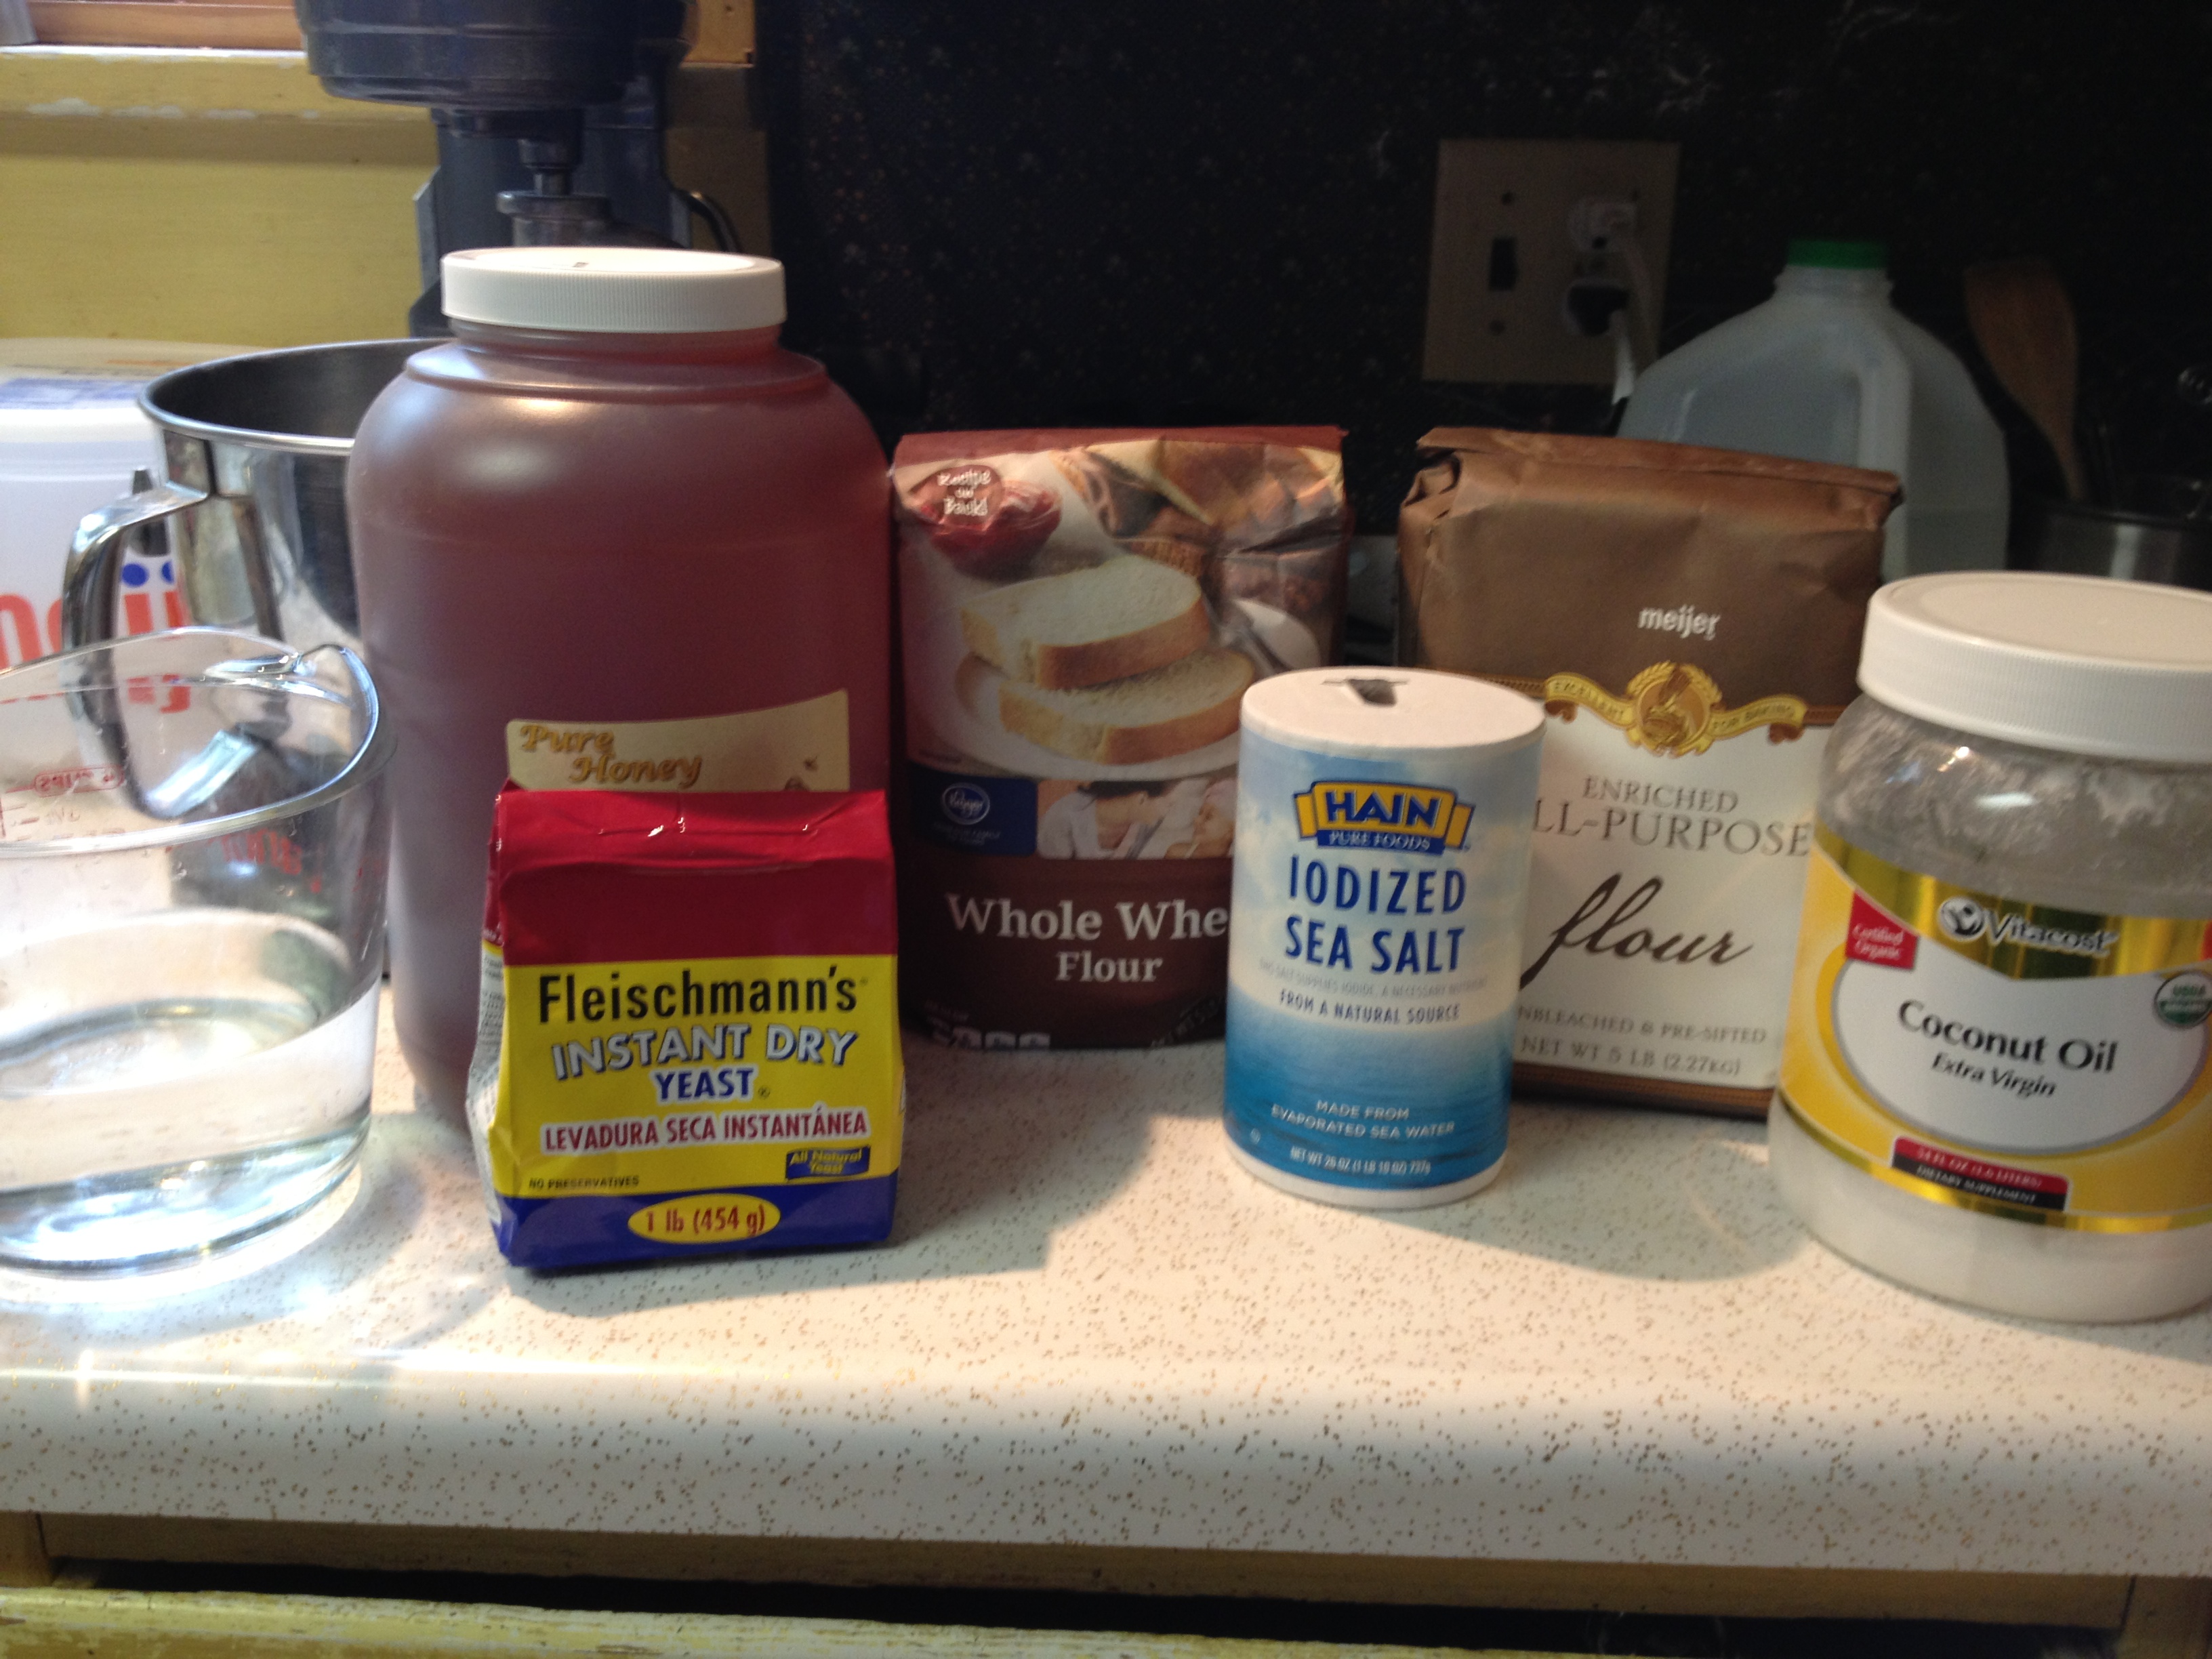 4 cups unbleached white flour
2 cups whole wheat flour
1/2 Tbsp. salt
1 1/2 Tbsp. instant dry yeast
1/4 cup oil of your preference
1/4 cup honey
2 cups hot-as-you-can-get-it tap water
First, if you are using coconut oil and it is solid, go ahead and spoon it into a 1 cup glass measuring cup. You can melt it in the microwave on 10% power for however long it takes to get to liquid form and poor the excess back into the jar.
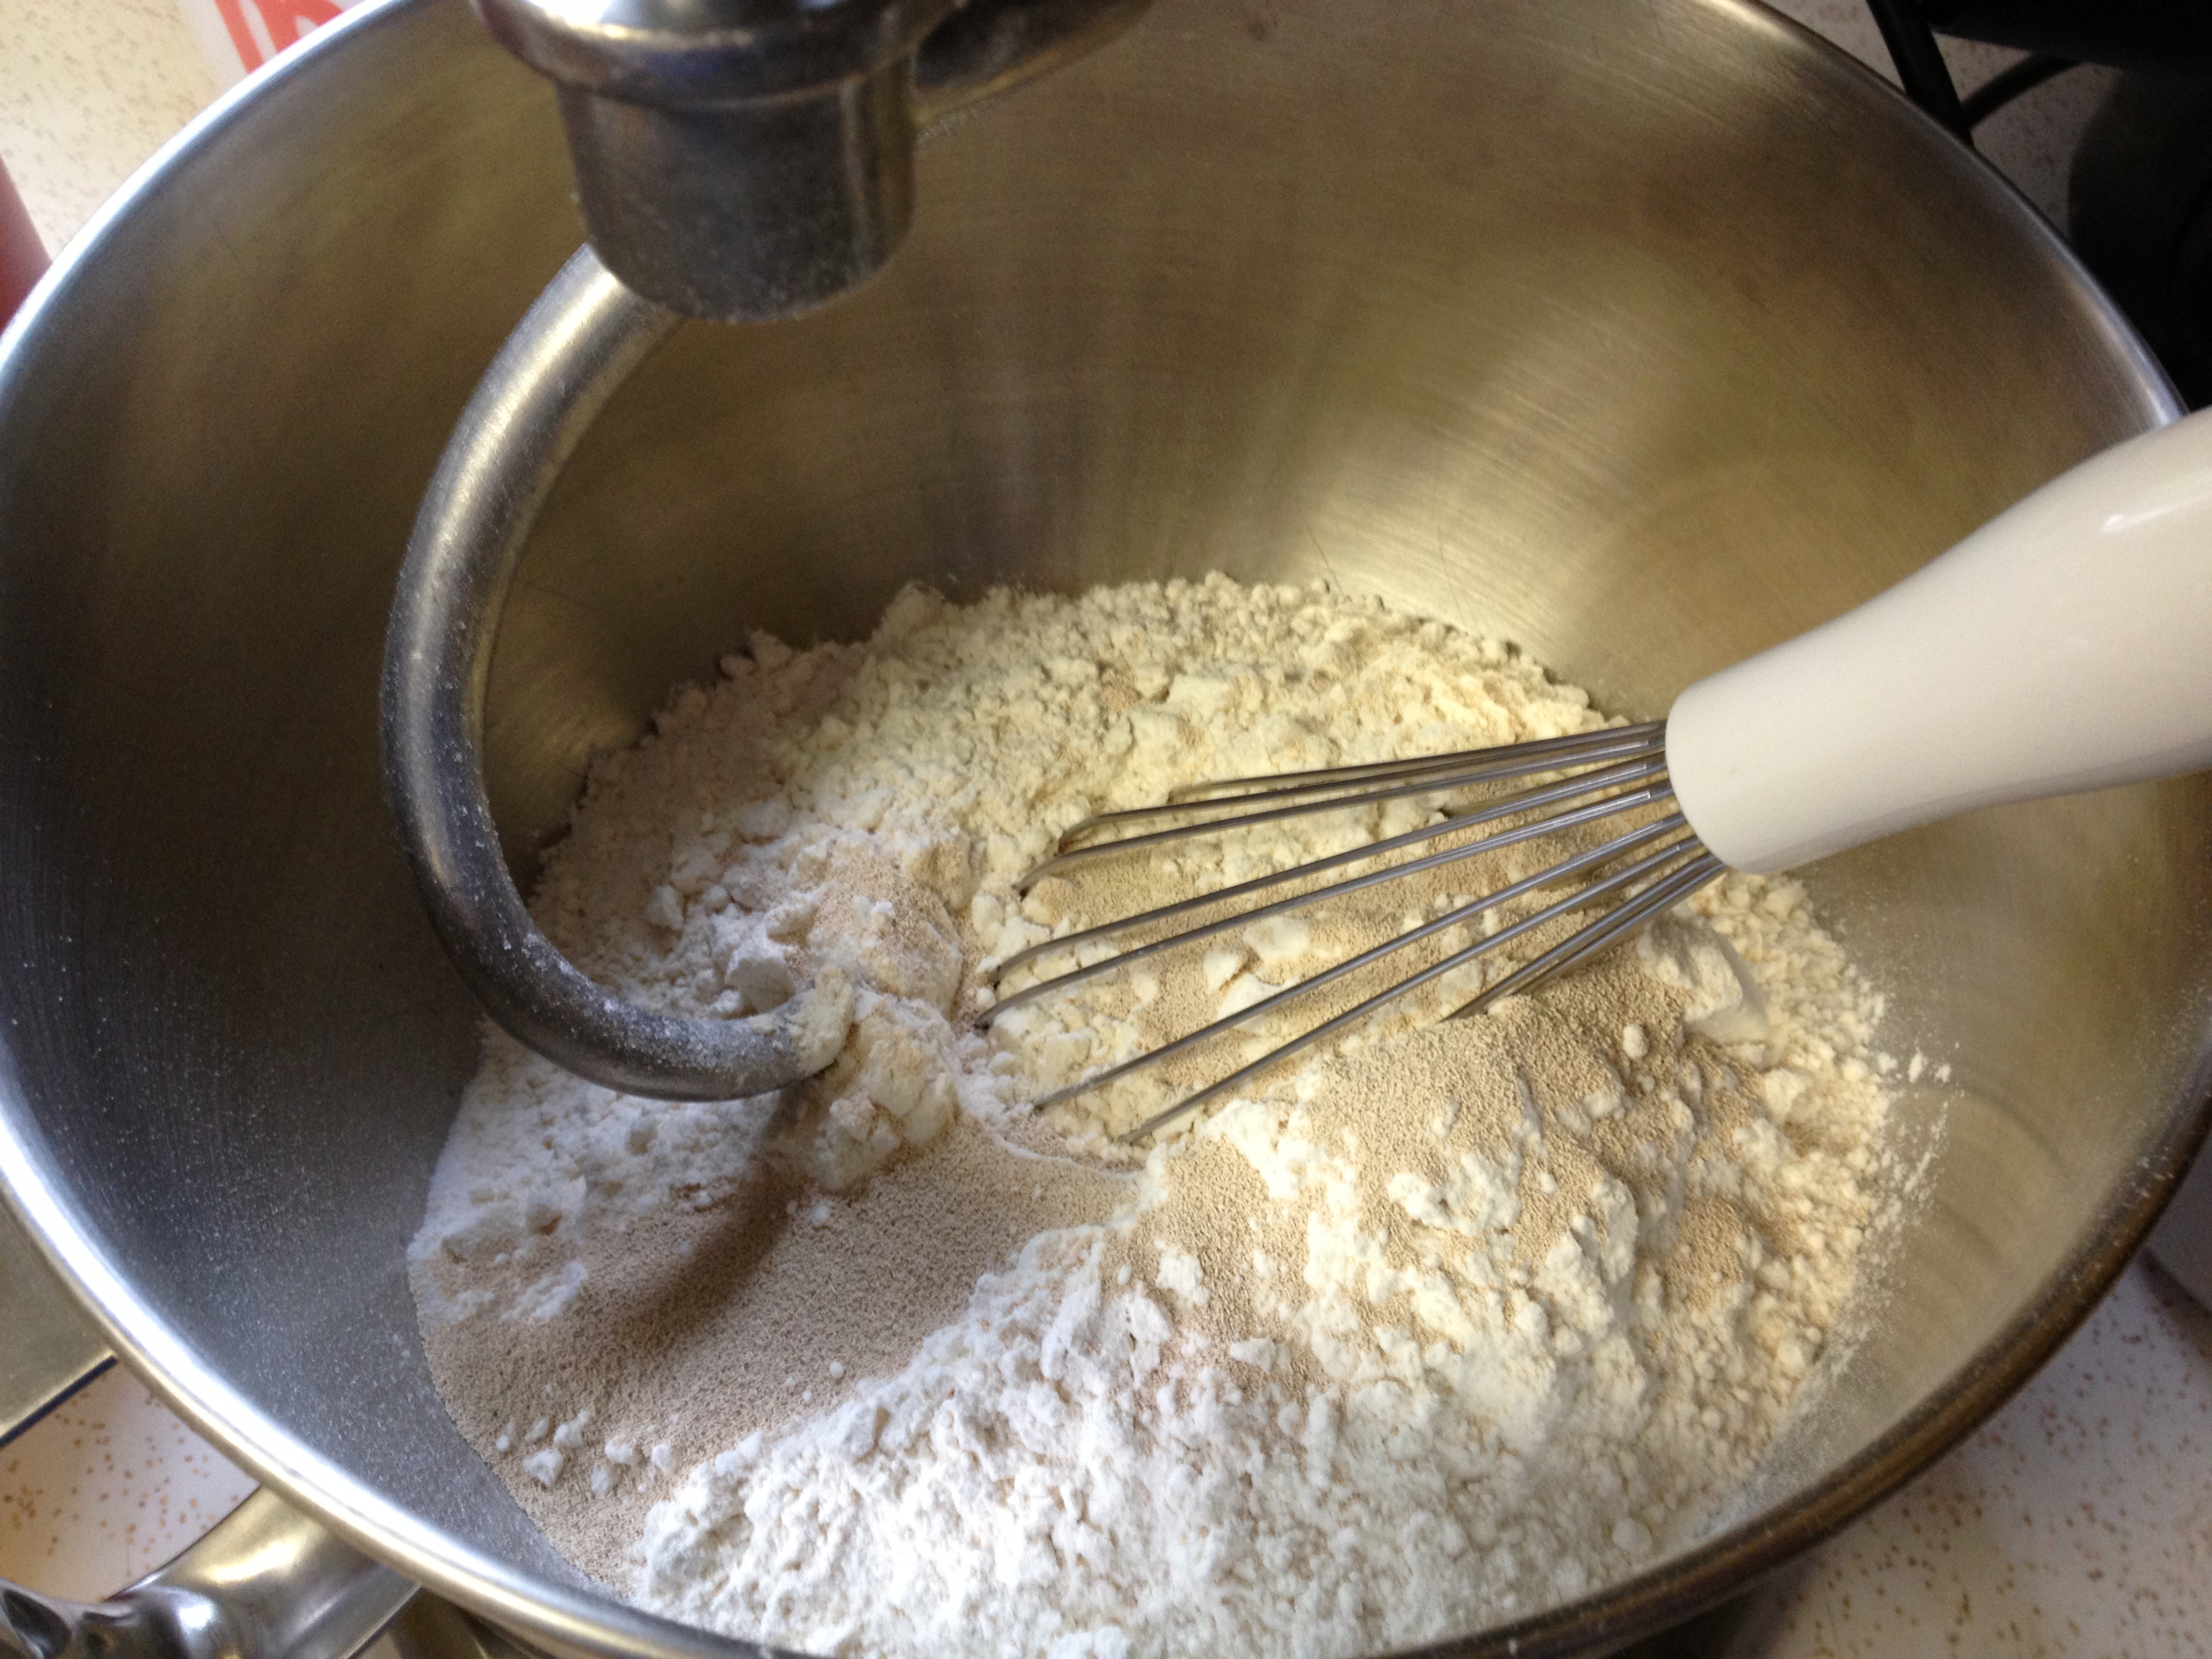
Put all the dry ingredients (flour, salt and yeast) into your KitchenAid Mixer bowl or food processor. Give it a quick stir with a whisk just to combine all the dry ingredients.
 Fill a 4 cup glass measuring cup with 2 cups of hot-as-you-can-get-it tap water. Then add the honey to the water to bring the level up to 2 1/4 and stir to combine. Then add the oil to the water/honey mixture to bring the liquid level up to 2 1/2 cups and stir to combine.
Attach your dough hook to your mixer and lock the mixer. Turn the mixer to Speed 2 or your food processor to the “dough” speed. As the mixer mixes, gradually pour in your liquid mixture of water, honey & oil. This is it! Let the mixer do its work and knead your dough for you. This will take around 3-4 min. If you notice after this amount of time that the dough is not quite coming together or looks dry, go ahead and add warm water 1 tbsp. at a time. In the end, the dough should have the look and feel of playdough. It should be soft but a little stretchy. You’ll notice it feels warm and does not stick to the sides of the bowl and looks smooth. With constant changes in the weather, you may have to keep an eye on the dough and add either a little water or flour to get it to the playdough consistency.
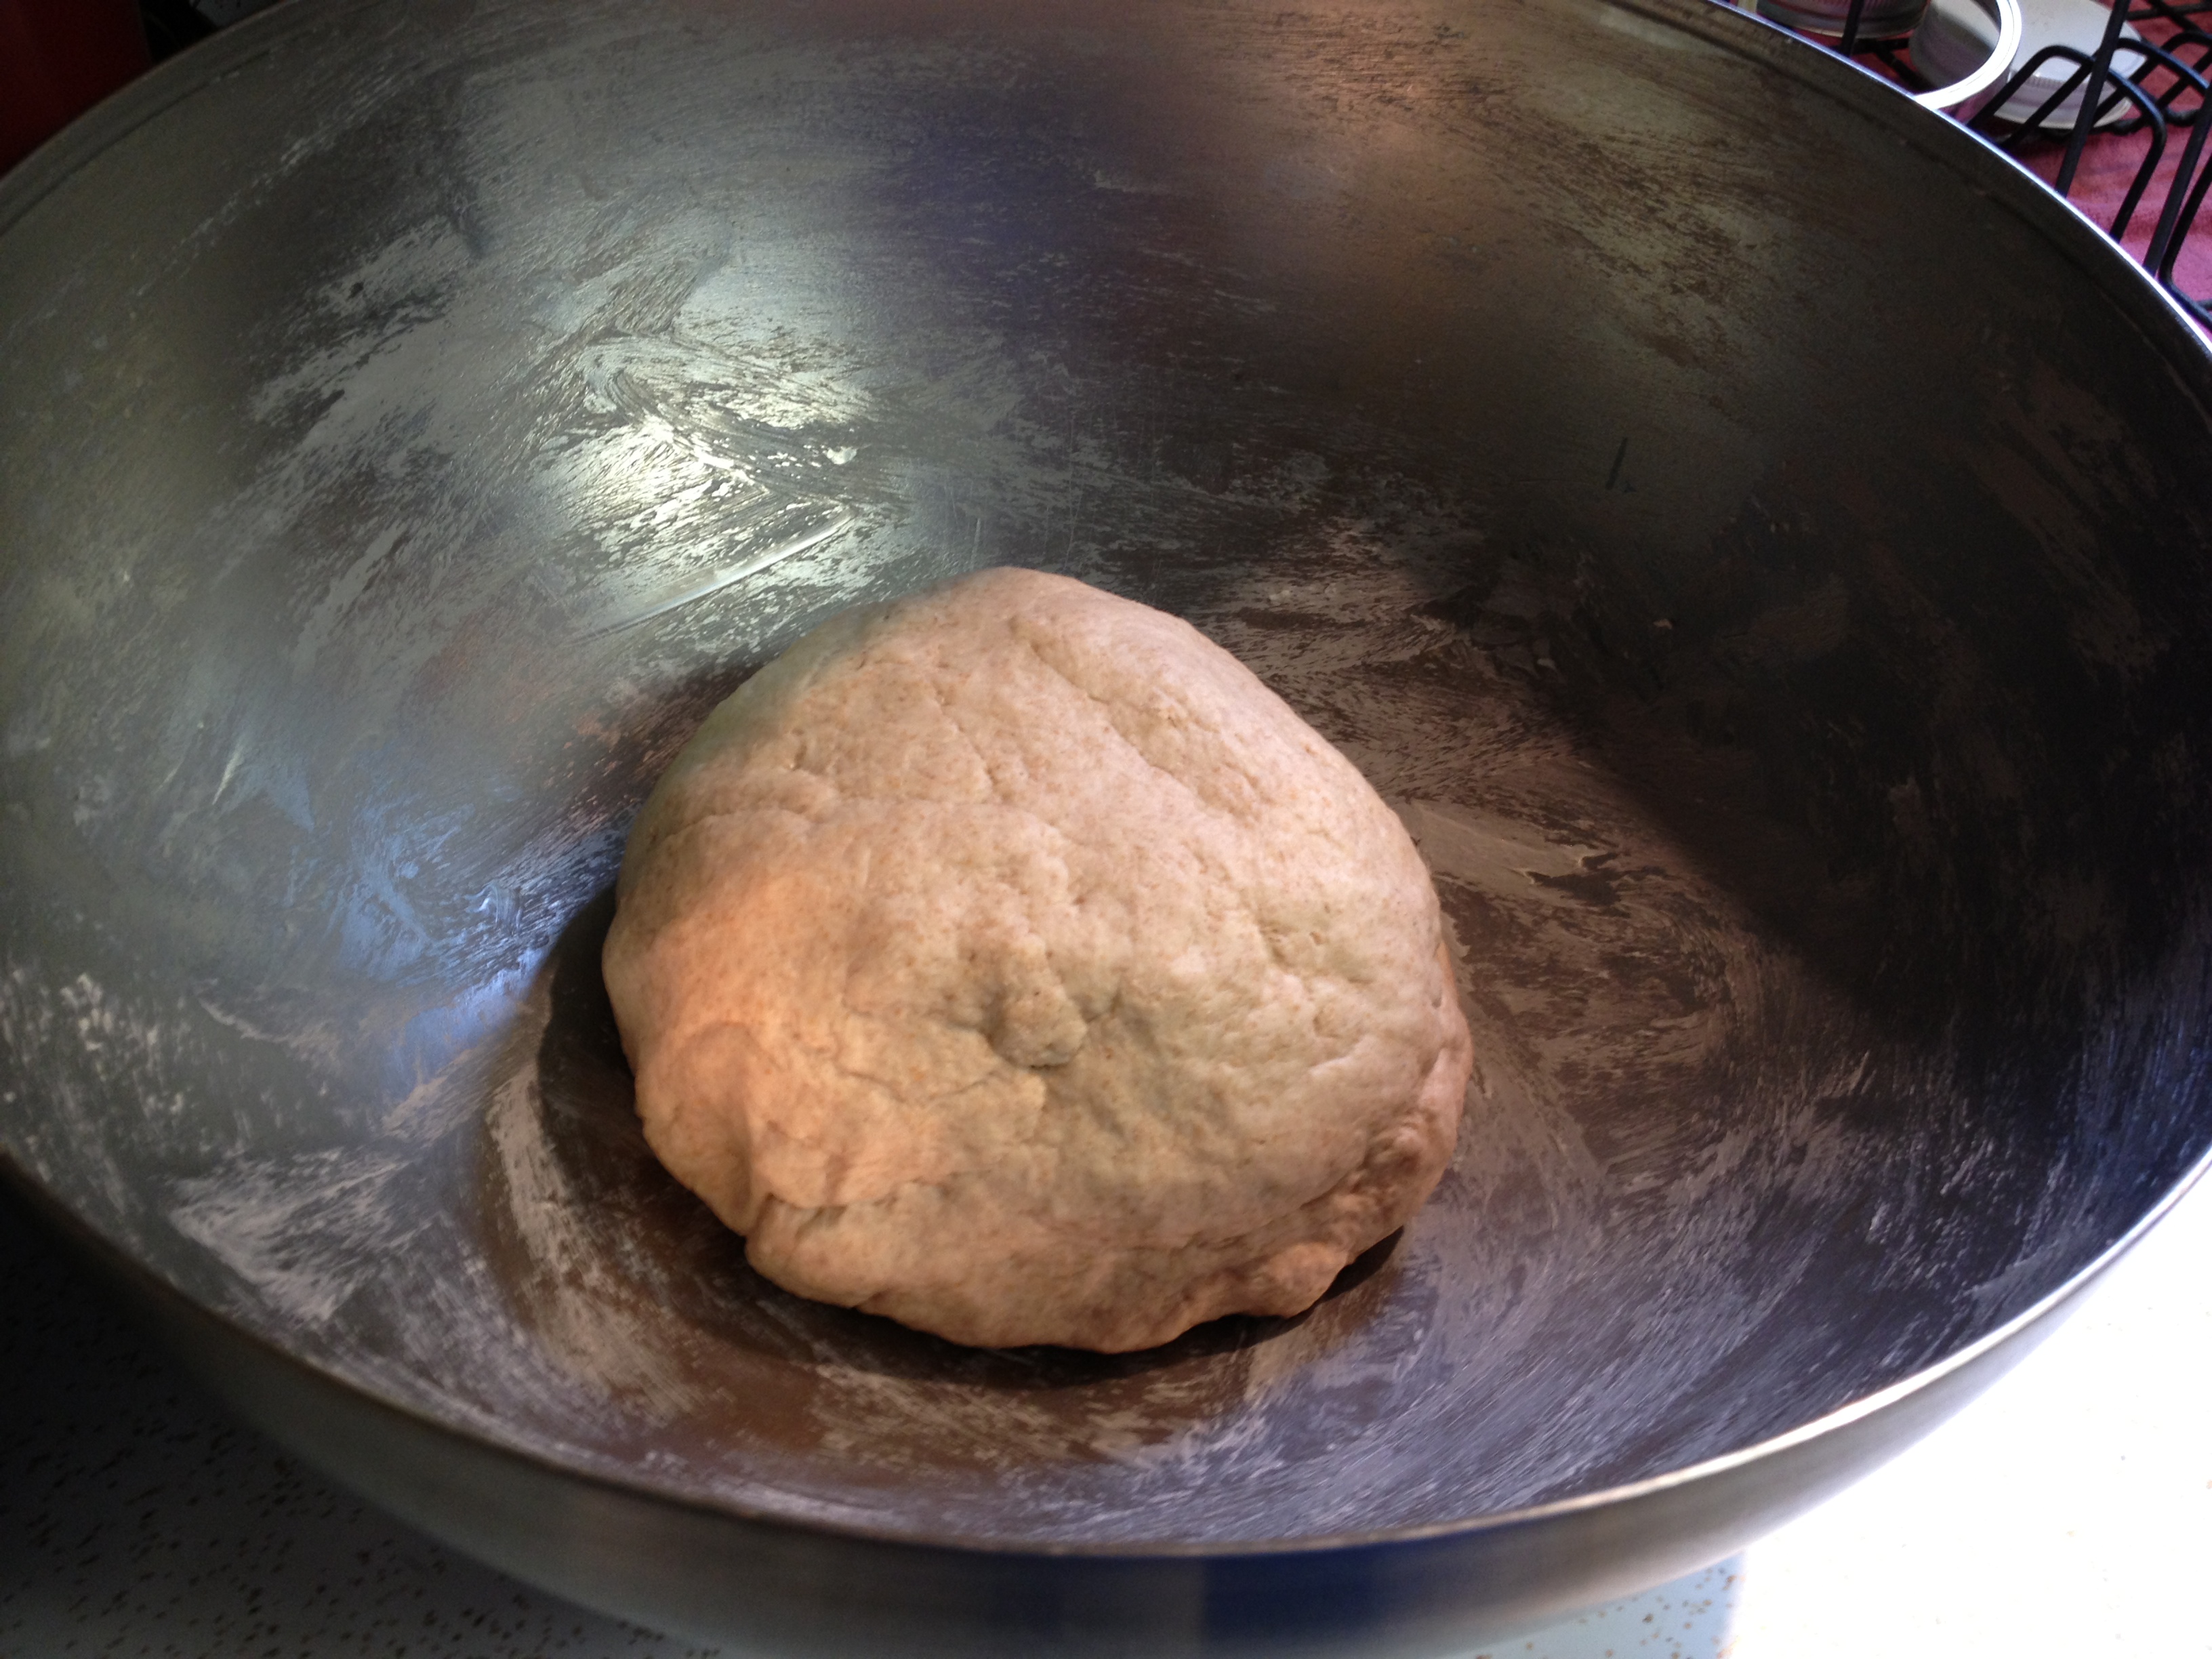 Next, transfer the dough to a large, greased bowl. I grease a large metal or glass bowl with butter. In cooler weather, go ahead and turn your oven onto 350 F. Next, cover the bowl with a warm, damp towel. This will keep the dough from drying out while it is rising. Place the bowl on the stove to rise until the dough is doubled in size. This will take around an hour, depending on how cool your kitchen is at the time. Turning the oven on ahead of time speeds up this process.
After the dough has doubled in size, punch it down. Then, with a sharp knife, cut the dough exactly in half (this recipe makes 2 regular loaves of bread.) With a rolling pin, roll out each half until about 1 inch thick into a rectangle shape–this gets the air bubbles out. Then, start rolling up the dough jelly roll style. Roll it tightly, tucking it under as you go, you don’t want big holes in your bread. When you get to the end, make sure the flap is on the bottom of your loaf. Fold the ends under and pinch the ends to secure them to the bottom of the loaf. Pat and shape your loaf to make it all even, remembering to make sure that flap is on the bottom when it goes into the pan. Don’t be afraid to work with the dough to even it out.
If you haven’t already turned on your oven, turn it to 350 degrees F. Place each loaf in a greased bread pan (again, I grease mine with butter, I found that the bread stuck to my pans when I did it with oil.) Again, don’t be afraid to work the dough to even it out in the pan so you don’t have a high middle and low ends. Set the bread on top of your stove to rise, covered by the damp towel. Let them rise until they are even with the tops of the pans but no more than 1 inch above the rim.
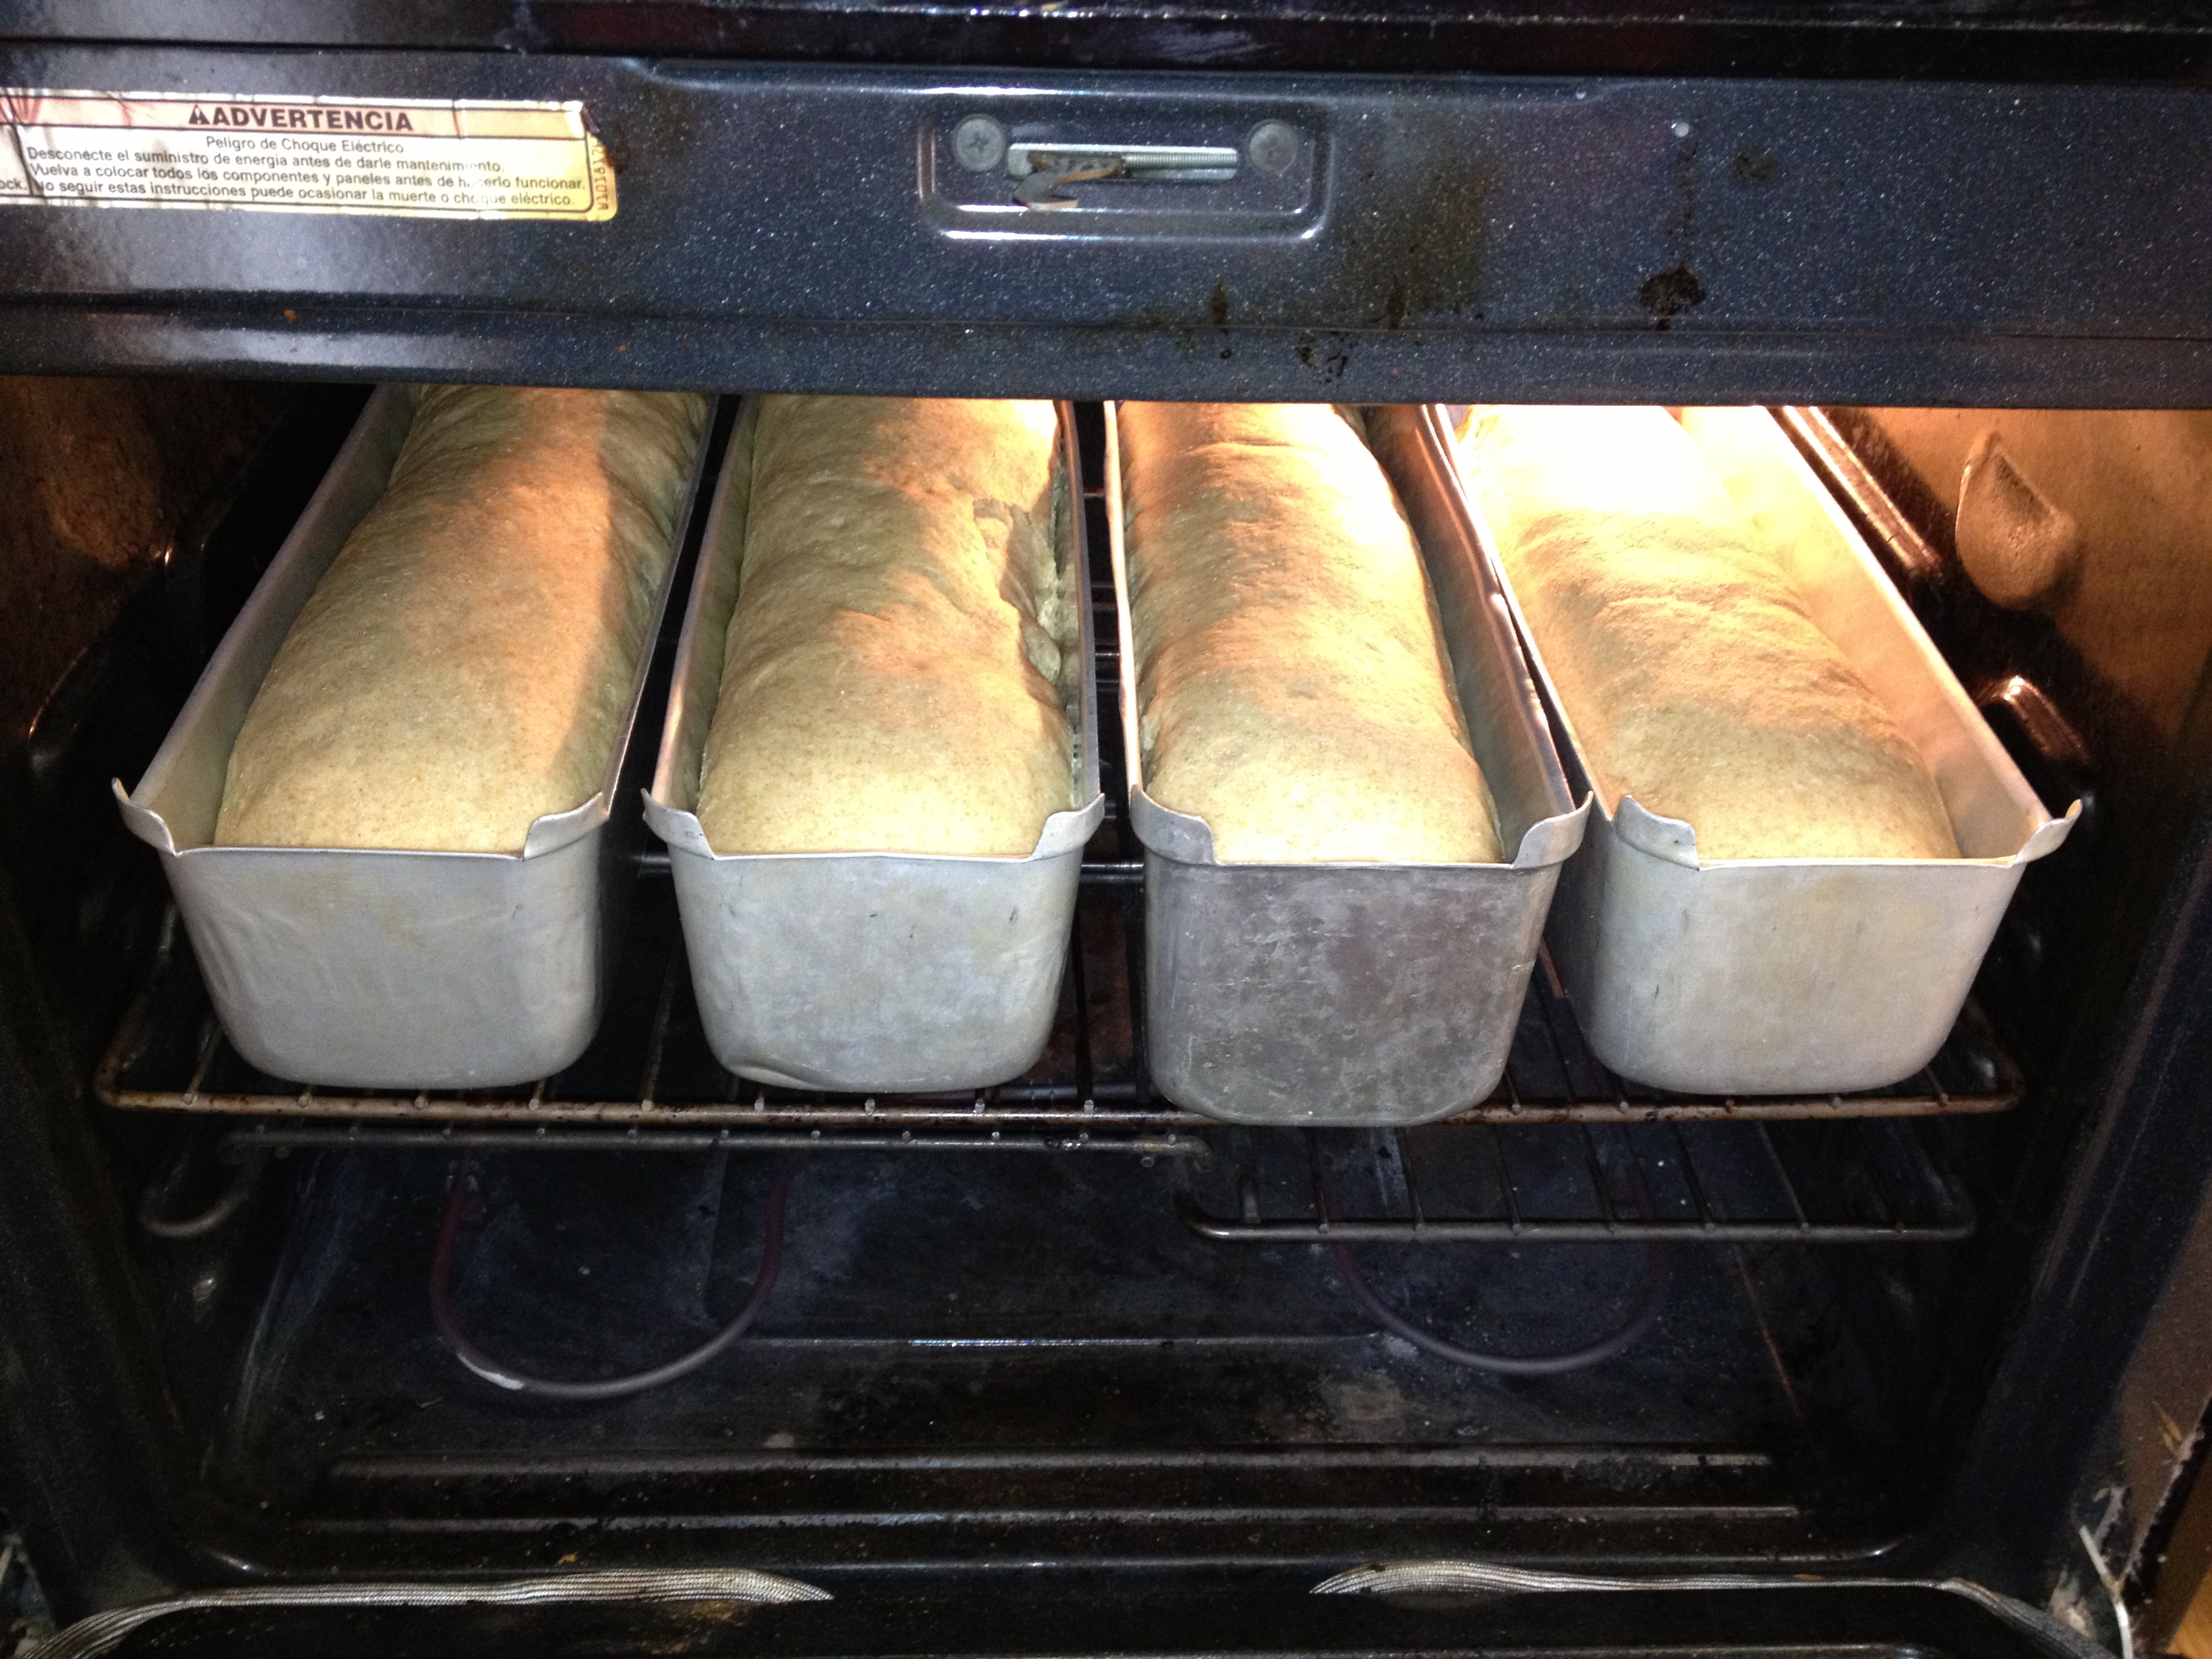 After they are risen, put them both in the oven for 35 min. After 35 minutes, remove immediately from the oven and take bread out of the pans and place on cooling racks. Brush tops with butter or oil. Do not slice until completely cooled, usually around 2-3 hours.
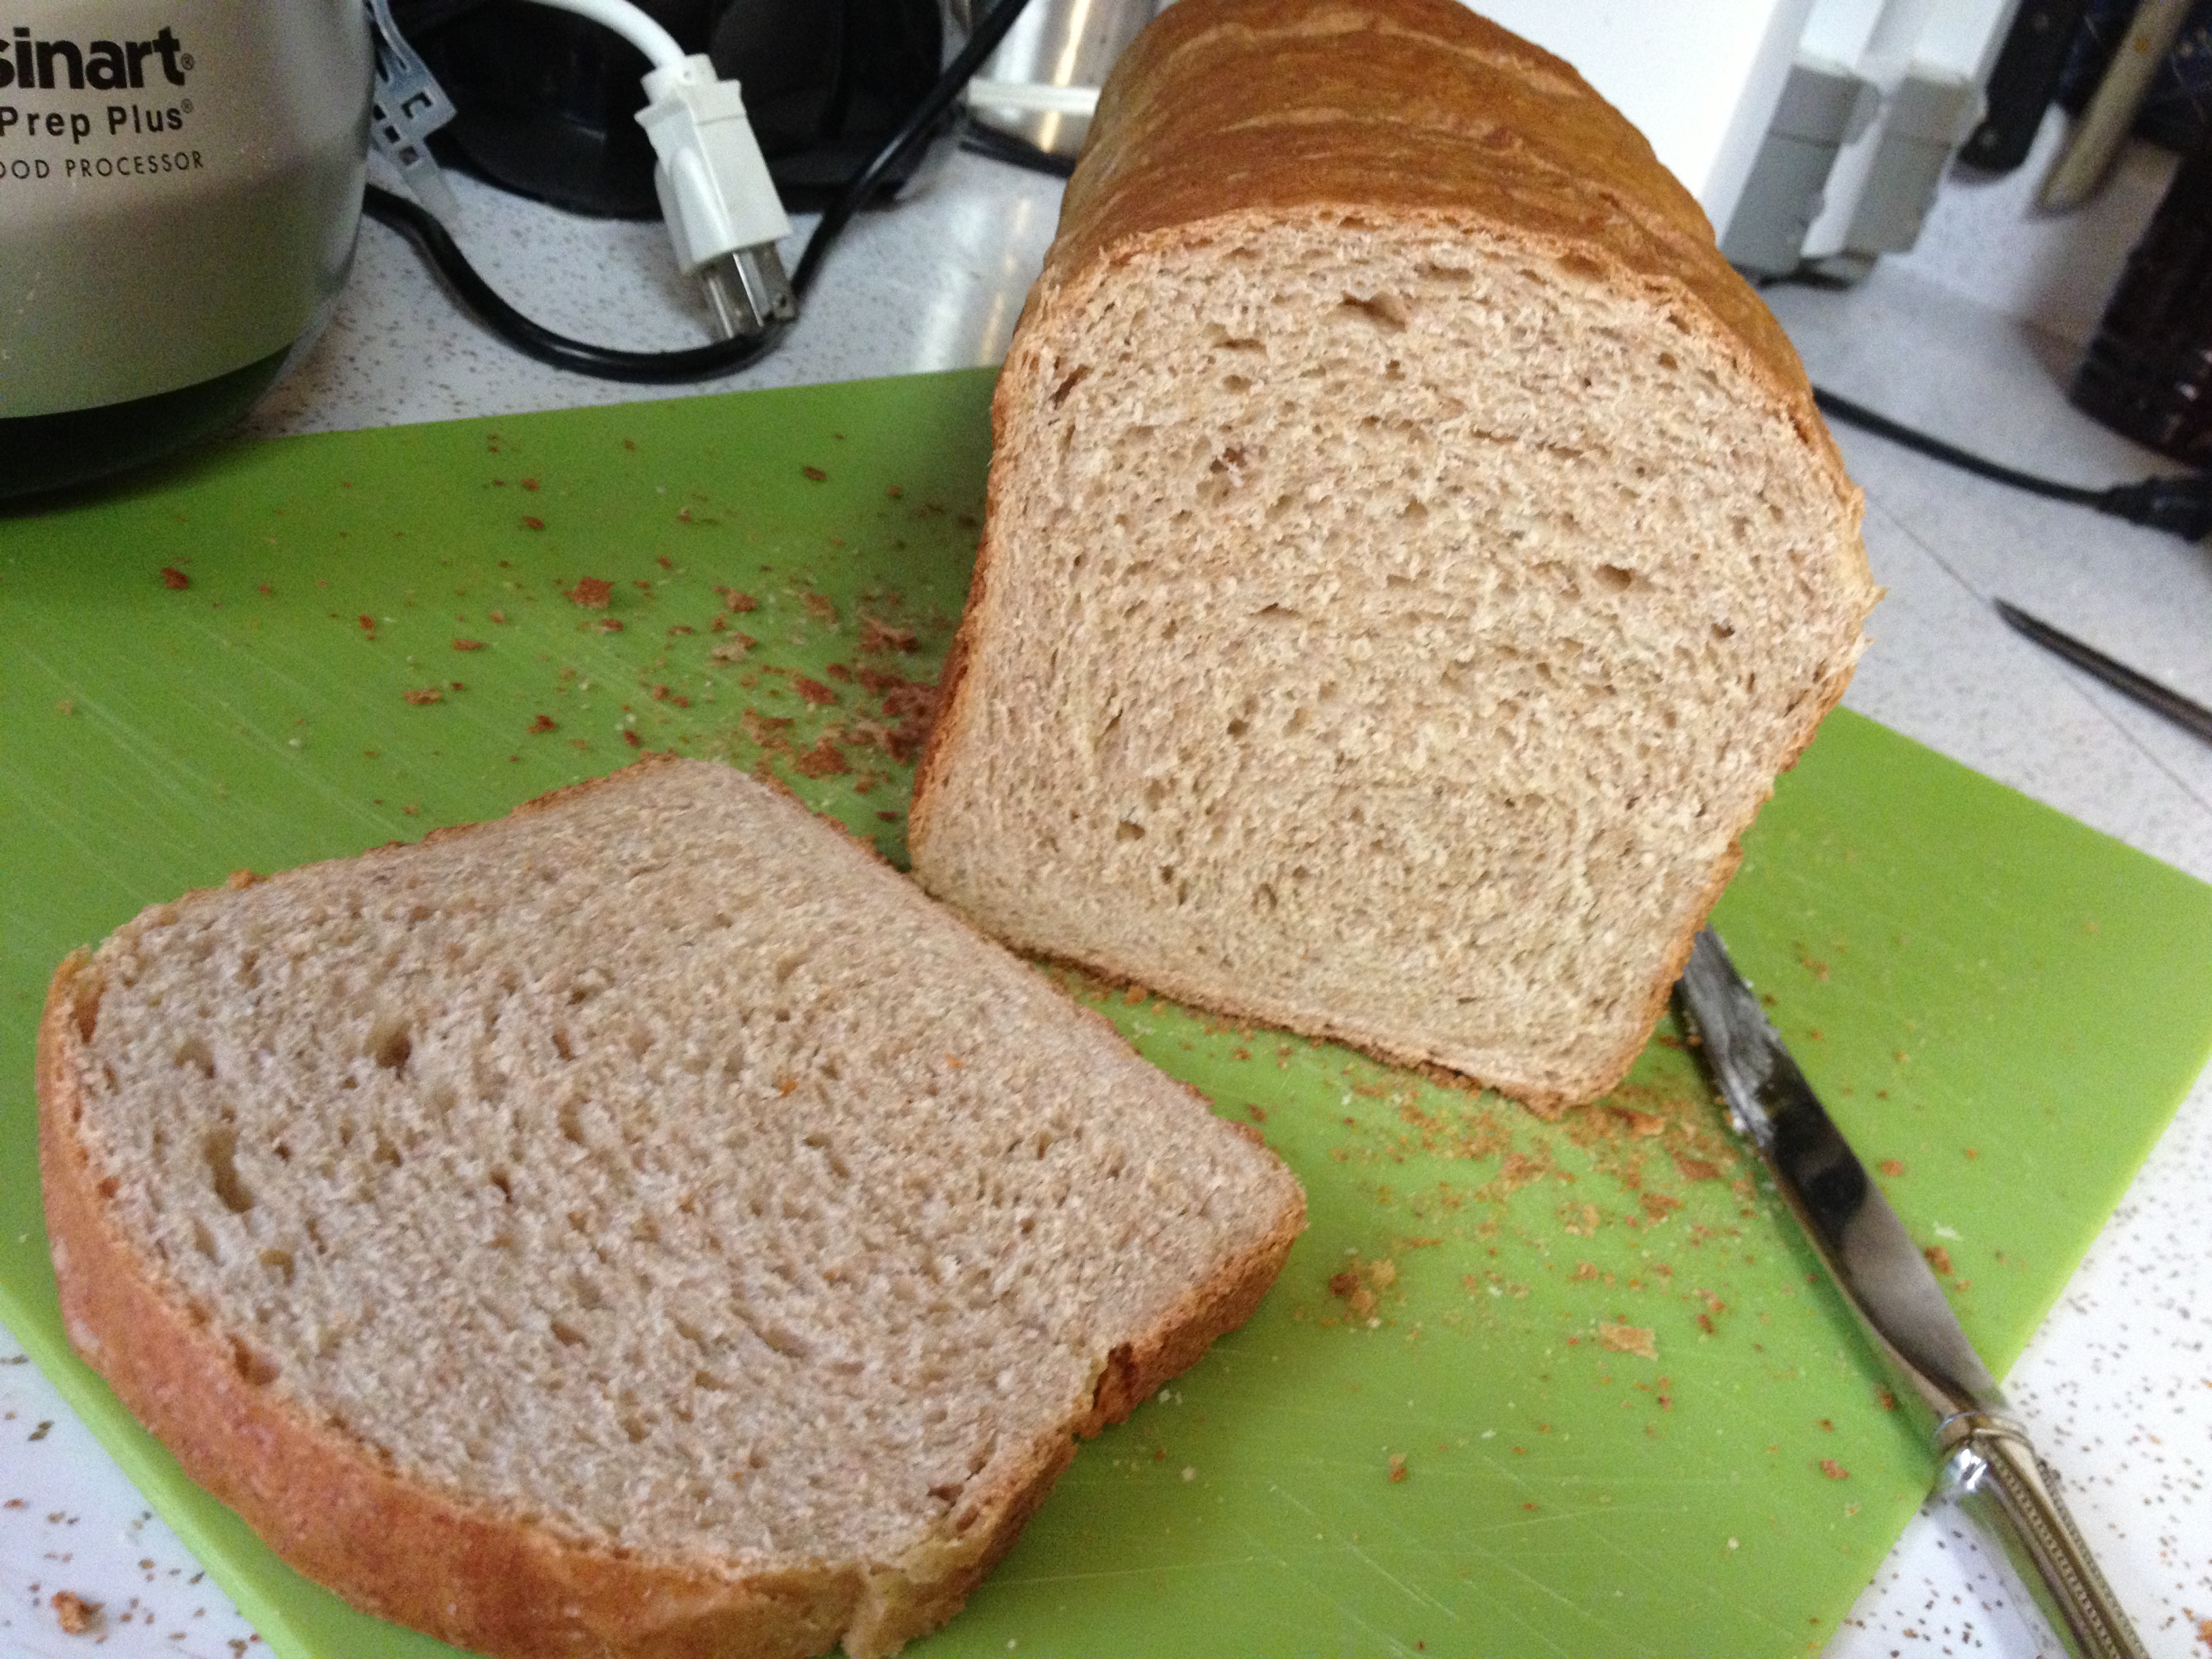 This makes GREAT sandwich bread! Like I said, the ratio of flours can be adjusted to your taste. Slice with a good, serrated bread knife. I slice all our bread and then store it in big plastic storage bags in the freezer and take it out as I need it. I store it on the counter in a long Rubbermaid container.
If you mess up, don’t worry. Try again! Bread that didn’t turn out quite the way you want it can be turned into bread crumbs, croutons or dipped in soup!
I can’t wait to try it!!! thank you so much Sharon! Great Blog! I agree with Nate, Keep it up!